I had some left over jersey knit fabric from a dress I had made for myself and I thought it would be the perfect amount to make a cute dress for my daughter. In this tutorial I show you just how simple this can be!
What you will need:
- Dress to use as a template
- Knit fabric
- Scrap felt
- Tape measure
- Tailor’s chalk/pen
- Scissors/rotary cutter
- Cutting mat (optional)
- Sewing machine
- Stretch needle
- Coordinating thread
- Paper
- Pencil
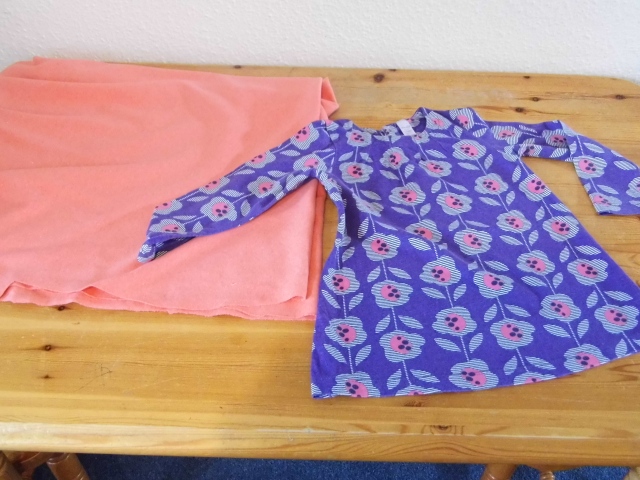
Firstly prepare your fabric by washing it and giving it a press once it is dry. Press the dress you are using as a template.
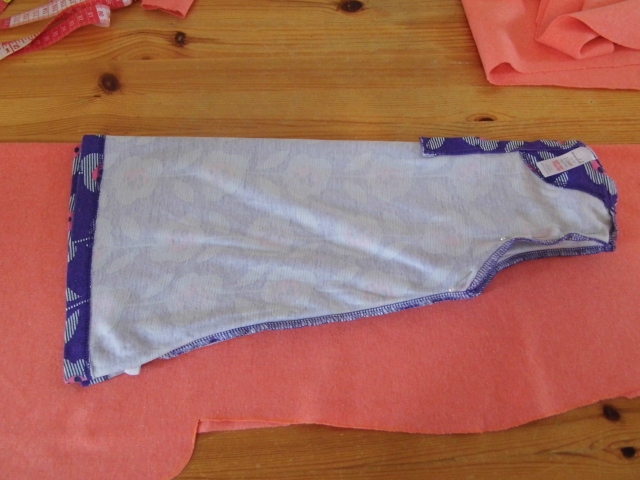
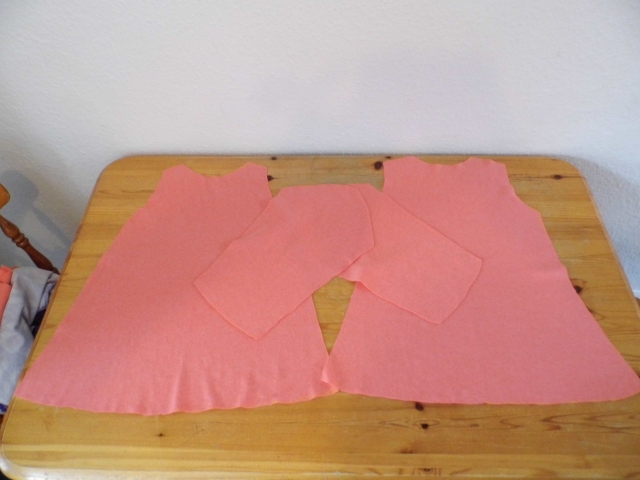
Fold your knit fabric in half, length ways. Turn your dress inside out and fold it in half. Place the dress onto your knit fabric, positioning the fold of the dress on top of the fold of the knit fabric. Draw around the shape of the dress, to include your seam allowance. Cut out your back piece. Repeat this step for the front.
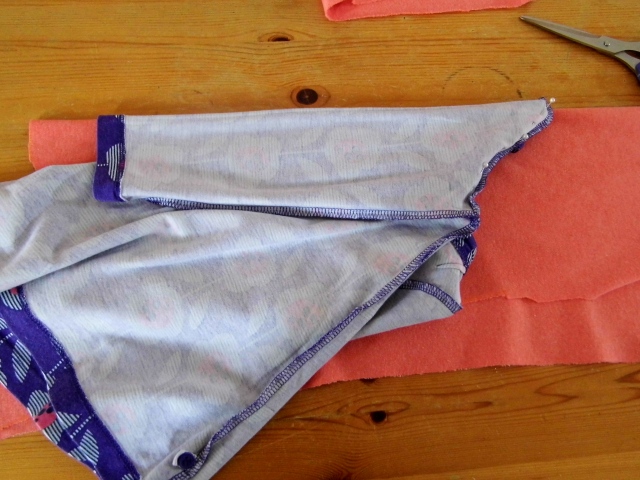
Position one of the sleeves onto your knit fabric. again lining up the folds. Draw around the shape of the sleeve, to include your seam allowance and cut. The top of the sleeve should be curved. You will need to cut out two sleeves.
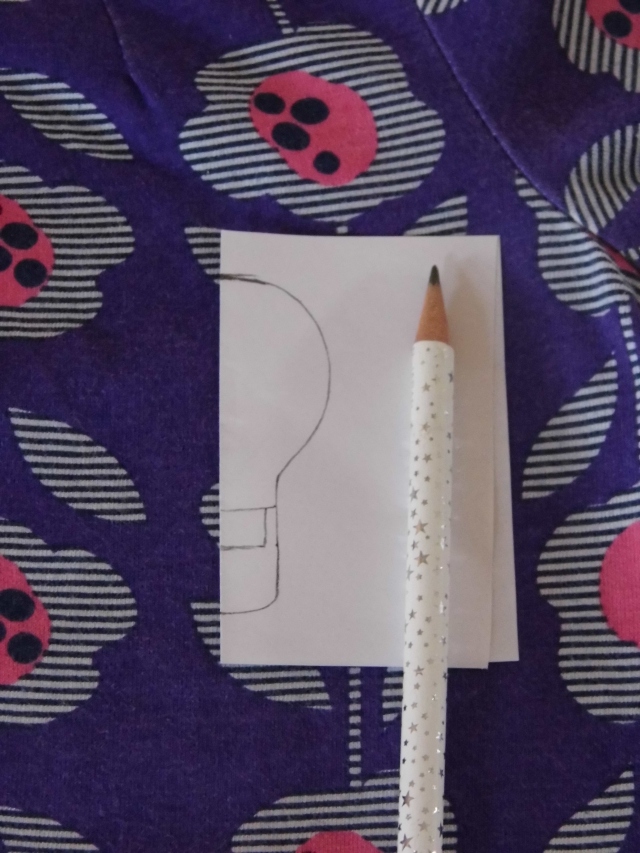
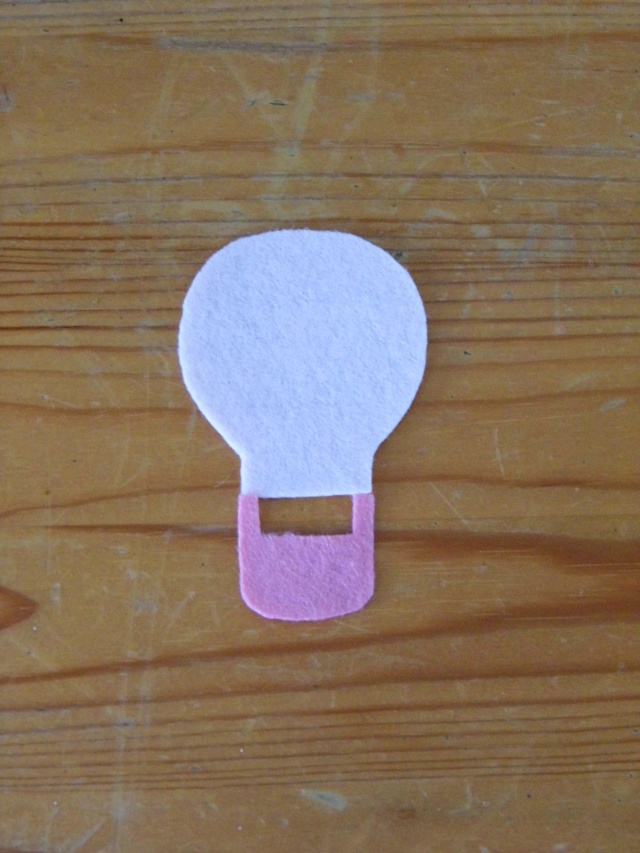
Create your motif by folding a piece of paper in half and drawing half of your design. I choose a hot air balloon for Phoebe’s dress. It may be helpful to position the paper on your template dress in order to gain an idea of the size you’d like it to be.
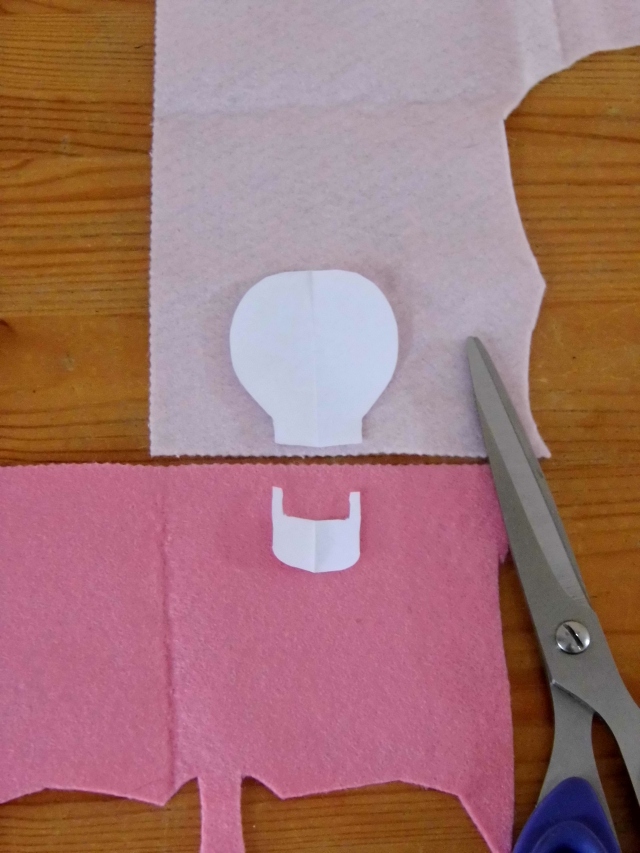
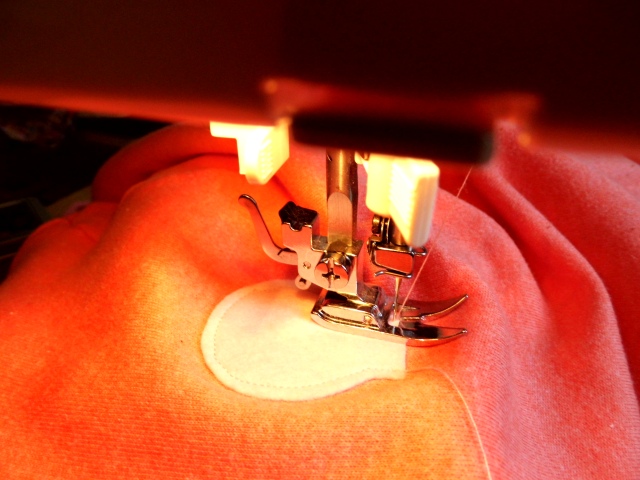
Cut out your motif template and then use it to cut your felt. I opted for two different colours. In hindsight I realise I should have sewn these onto a base layer of felt and then sewn it as one piece onto the dress.
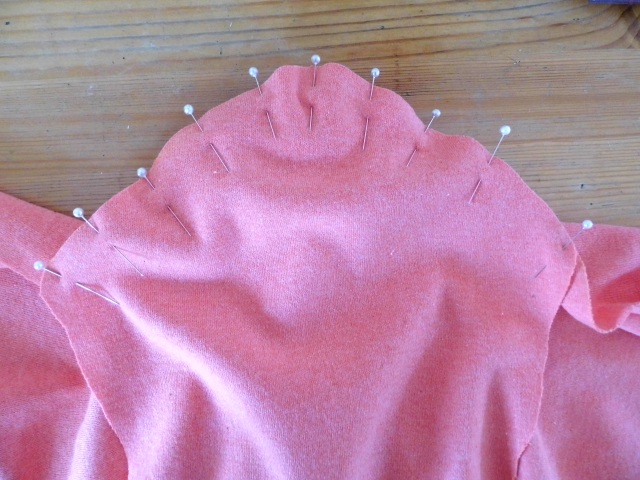
Now you are ready to sew your dress. Pin the shoulder together, sides sides together and sew in a zigzag stitch. Next lay your dress with front and back piece both right side up. Find the center of your sleeve by folding it in half and pin it to your shoulder seam. Continue to pin all the way around the top of your sleeve and sew in a zigzag stitch. Repeat for the other sleeve.
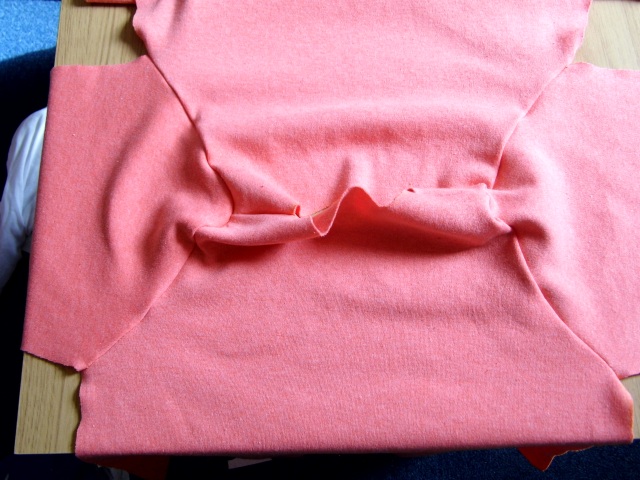
Lay your dress, right side up. It should now look like this. Trim your seams if desired and press open. I didn’t take a photo of the next stage but next you are going to sew the sleeves and side seams. Pin the sleeves and side seams, wrong sides together. If you are unsure about the measurements you can try this on your little girl or compare to your template dress and adjust the pins accordingly, before you sew. Once you are confident you have achieved the fit you want, sew in a straight stitch, starting from the end of the sleeve and the down the side of your dress. Repeat for the other side.
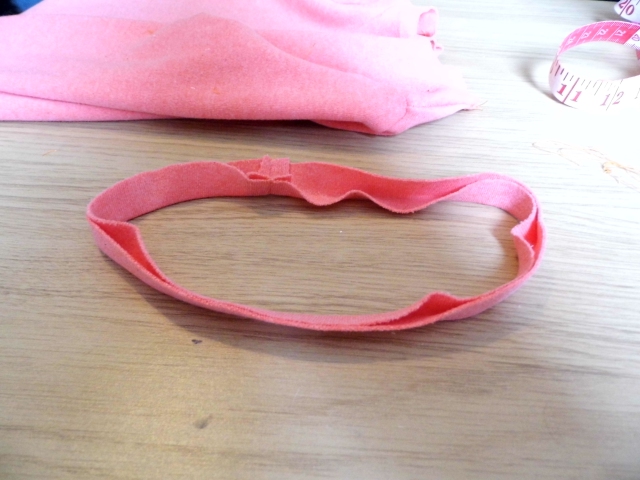
Now it is time to make the neck band. Measure the neckline and cut out a strip of fabric the same length plus your seam allowance and twice as wide as you would like your neckband to be, plus seam allowance. Fold the strip in half and sew the short ends together in a straight stitch, trim the seams and press open. Fold in half, wrong sides together and press.
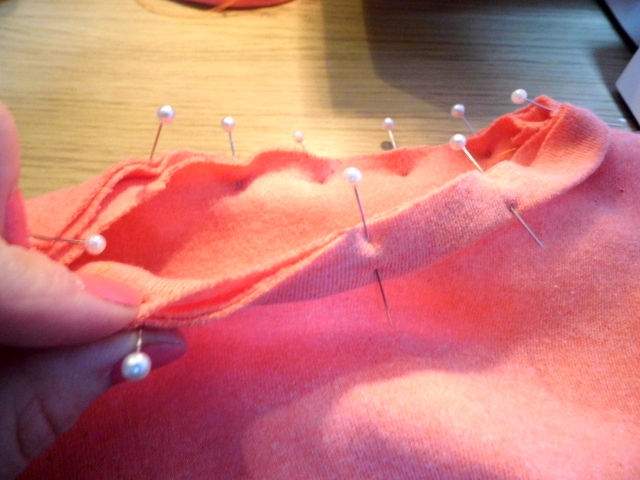
Find the center point at the back of your neckline and pin the center of the neckband. You will pin all three raw edges together.
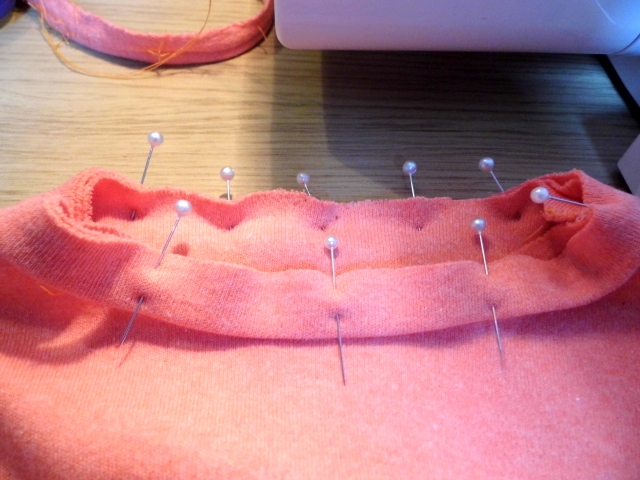
Pin all around the neckband. Sew in a zigzag stitch and turn the neckband out then press well. (I should have taken more photos)
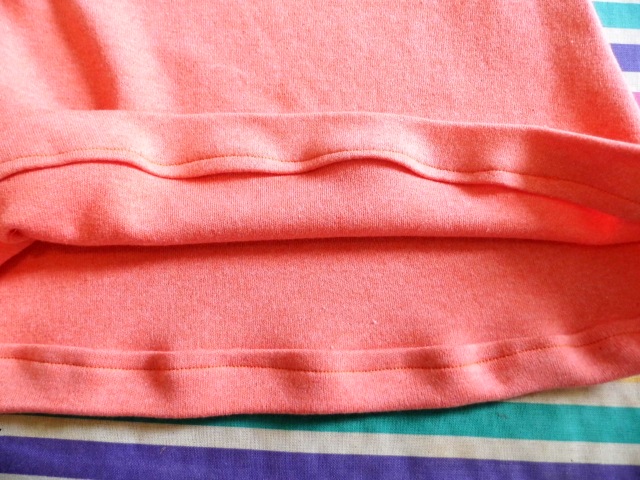
To sew the hem, decide how much you would like to take your dress up by and fold twice, for example if you need to take it up by one inch, fold by half an inch and then again by half. Press then sew in a straight stitch. Repeat for the sleeves.
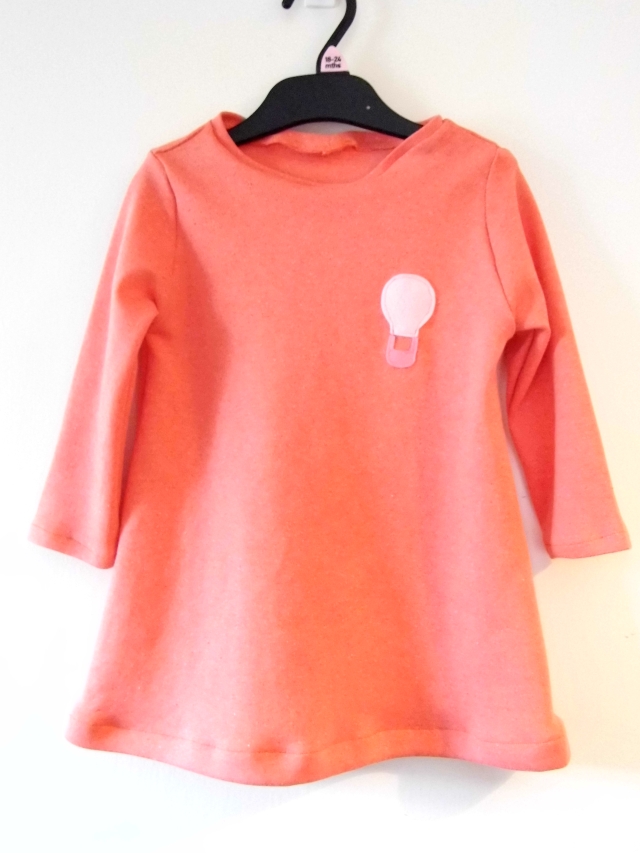
My little girl loves her new dress, however, getting her to stay still long enough to take a photo was impossible!


